Pages

Thursday, March 31, 2011

this week's task

there are two things that dr mai asked us to do for next week and next 2 week
1.  download paper about constructivism, instructional design theories and models and designing constructivist learning environment by jonassen and then read it (we will discuss it next week 7 april 2011)
2.  outline for 2nd assignment : this assignment has to be submitted next 2 week (14 april 2001) - we should post our outline at our blog

p/s : why I post this in my blog... so that it will remind me ;)
        & our mid term will be in wk 9 (huhu...)

5th pic : emotions

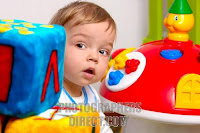
ok.. this is the final pics... for this 5th photo.. I use lots of pics... the pics are :


even though there are lots of pics.. but the final pic is simple...
this is the steps that I used :
  • resize all baby pics into 170x160 pixel
  • copy all the baby pic to new file (which the canvas size is 1020x800 pixel)
  • arrange all the baby pics like a checker board
  • select all baby pics and convert into smart object, so that the baby pics layer will transform into one single layer
  • add new layer and color with yellow, change the opacity of yellow layer to 45%
  • add horizontal type mask tool "life... full of emotions" to a new layer
  • open the smart object of baby pics, merge visible, select all and copy
  • paste into the type mask layer
  • add effect to the type mask layer
  • and the final pic is like this....

Wednesday, March 30, 2011

4th pic : Hunger

this is my 4th pic...

the original pics are :
pic 1

pic 2

pic 3

then, I edit and combine the pics. the steps are :
  • open pic 3, make selection of kid and bird using elliptical marquee tool with 15px feather
  • copy the selections, and create new layer
  • paste the selections
  • open pic 1, and make selection at only the text uisng magic wand
  • use move tool and move the selection to pic 3
  • rearrange so that the text from pic 1 layer be in between pic 3 and copy of kid and bird layer
  • open pic 2, make selection of crawling kid using lasso tool
  • move the selection to pic 3
  • recolor the kids and bird to make it more darker using sponge tool
  • add effect to the text using blending option
the final pic is like this...


p/s : I didn't have ideas right now.. this is what I can produced :). may be I'll change it later.

Thursday, March 24, 2011

topic for assignment 2

hmm.. today, in class we were discussing about our assignment 2.. which is a journal about "role and use of new media and technology in education today"

we have to have at least 8 to 10 references for our paper...

so for this assignment, I've decided to use my topic that I'm going to propose form my project paper which is
"Learner’s perceptions of effectiveness of eLearning program" and my focus group is Adult learners age from 30 years and above. or may be I can change to a simpler topic ( but still though ;) ) which is "Adult learners and online learning : issues and challenges".

Why i choose this topic...
It is because, currently I'm working with one of government agency servicing the cooperative sector. In my organization, we have learning management system (LMS) and elearning CDs which given to the cooperative in supporting our face-to-face class. But sad to say, number of users who use the LMS is less than expected... we also didn't get any feedback on elearning CDs that has been given to the cooperative.

p/s : can I use this topic Dr. Mai???

Friday, March 18, 2011

3rd pic : To eat, and to be eaten...

This is my third pic
  • Pics used

tree
green field

lion

zebra

  • Open green field pic
  • Select lion, zebra and tree using combinations of magic wand, lasso tool and brush in quick mask mode, then move those three pics to green fields pics
  • Use clone tool to clone the sky and delete the mountain.
  • Create new layer and make shadow of tree using elliptical marquee tool (feather = 15px), and fill with black color and change the opacity to 85%
  • Make lion pics a bit darker using burn tool.
  • Use sponge tool to make the tree and the field a bit greener.
  • Use smudge tool to blend lion and tree with background
  • Add text (To live, we must eat.. But, be prepare to be eaten..) using horizontal type mask tool. Then, copy the original tree pics and paste into the text.
  • Add some effects to the text using blending options.
  • An the final pics is like this…

Thursday, March 17, 2011

4th photoshop exercise : Mask & Channels

this is our 4th photoshop exercise..

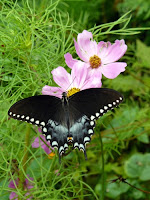
we use this pics..
 

  • then I make selection to the bird using combination of magic wand & brush in quick mask mode
  • apply filter to background (artistic--> coloured pencil)
  • copy the bird and put in new layer, apply filter (render --> lighting effect), put some effects using blending options..
  • and the final pics is like this...

Wednesday, March 16, 2011

2nd pic : water is life..

This is my 2nd pic that I edit using photoshop...
Theme : water is life

actually, at first I want to use this theme "beauties of life". but then after do the editing.. I change the theme...
below are the steps I use to edit the pics...
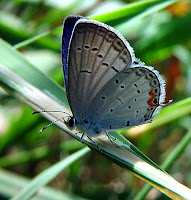
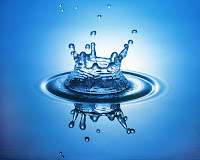
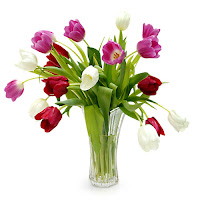
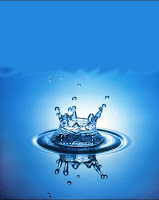
  • I use these pics..

       
  • First I open the water file, copy the file and open new file and change the canvas size because the original water pics is to short.
  • Original size :             Height 640             Weight 800 
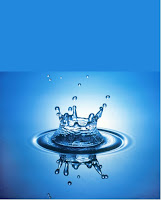
    Change to :                Height 1000          Weight 800
    It will be like this
         
    • I create a new layer, the use the eye dropper tool to get same blue color as background, and use the paint bucket tool to pour the blue color to the background.
    • Then, use the smudge tool (with soft round brush) to blend the background and water pics
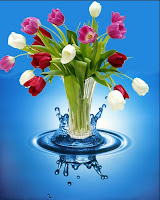
    • Then, go to flower pics and select only the flower and the pot using combinations of magic wand and lasso tool. 
    • Then move the selection of flower with the pot into the water pics
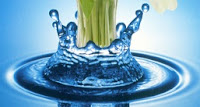
    • Select the flower layer, then hide the flower layer. When still selecting flower layer, make selection of water front shape, then delete the shape when selecting flower layer so that audience can see like flower pot came out from the water
     
    • The picture of flower pot will be like this.
    • Then, I duplicate flower layer and flip vertical the layer and move the flower to be the shadow and decrease the opacity to 40%.

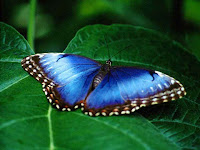
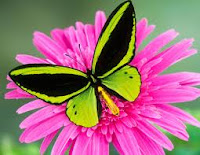
    • Select the butterfly pics (make selection at only the butterfly and move to water pics file). 
    • Then adjust the butterfly size using transform so that it will suit with the flower size.
    • Then, add text “water is life…”, add some effect, stroke, bevel emboss, gradient
    • The final pics will be like this